Photoshop基础:外部图案的安装与使用
[摘要]上一篇Photoshop教程讲述了Photoshop入门:外部渐变的安装和使用,本节讲述外部图案的安装和使用。1,首先打开photoshop,选择菜单 : 编辑 > 预设管理器如图1<图...
上一篇Photoshop教程讲述了Photoshop入门:外部渐变的安装和使用,本节讲述外部图案的安装和使用。1,首先打开photoshop,选择菜单 : 编辑 > 预设管理器如图1
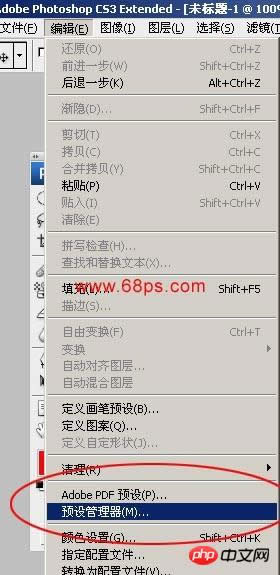
<图1>
2.在预设类型中选择图案,然后再选栽入按钮
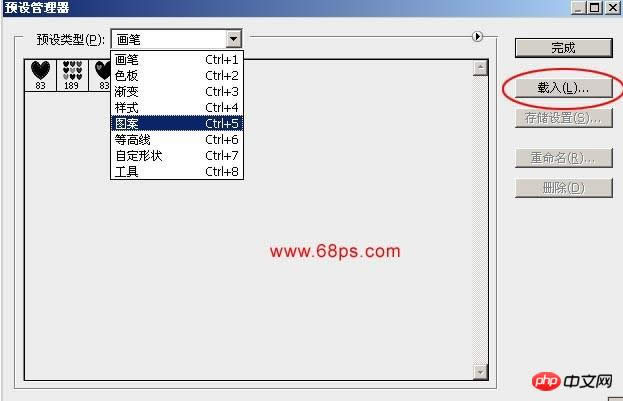
<图2>
3.选择你想要载入的图案
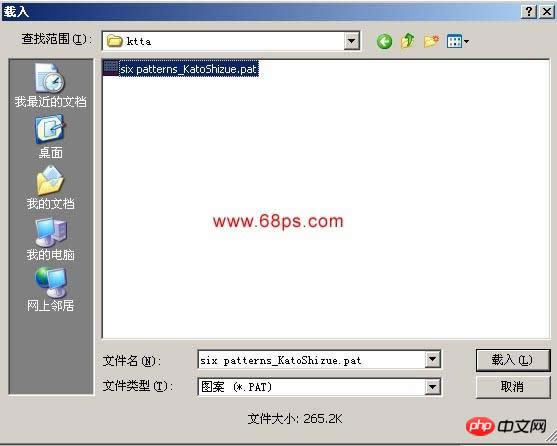
<图3>
4.载入后就可以看到刚才载入的图案
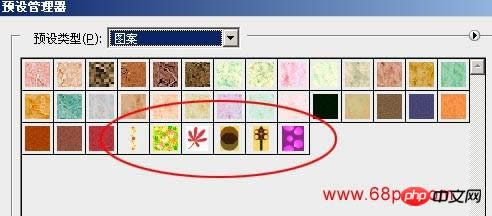
<图4>
5.选择修复画笔工具,在最上面的属性栏选择图案如图6就可以选择刚才载入的图案
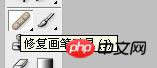
<图5>
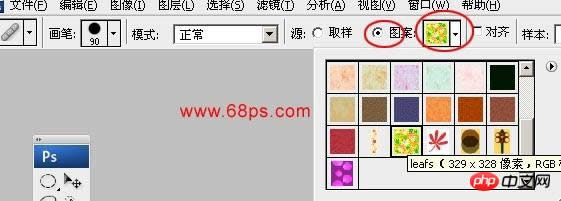
<图6>
6.在空白的地方就可以使用图案了

<图7>

<图8>
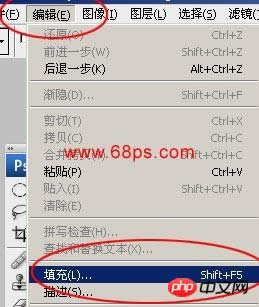
7.也可以使用填充来填充背景图案,选择菜单: 编辑 > 填充如图7
<图7>
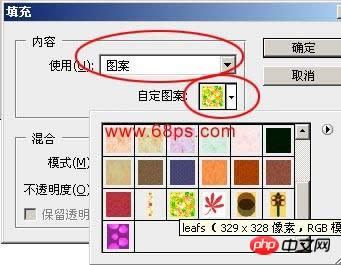
8.在使用中选择图案就可以找到刚才安装的图案如图8,然后确定就可以看到效果。
<图8>

<图9>
Photoshop默认保存的文件格式,可以保留所有有图层、色版、通道、蒙版、路径、未栅格化文字以及图层样式等。
……