PS页面设计图文详细教程XXIX——如何在PS中设计一个画廊布局
本系列的教程来源于网上的PS教程,都是国外的,全英文的。本人尝试翻译这些优秀的教程。因为翻译能力有限,翻译的细节上还有待推敲,希望广大网友不吝赐教。
约定:
1、本文的软件是Photoshop CS5版本
2、原教程的截图是英文的,本人在重新制作的基础上,重新截了中文版的图
3、原文中有些操作没有给出参数。本人在反复测试的情况下测定了一些参数,以红色的文字显示。有些错误的参数,直接以红色文字显示正确的参数
例如:(90,22,231,77),表示矩形的左上角的坐标是(90,22),宽231,高77
例如:(90,22),表示矩形的左上角的坐标是(90,22),矩形的其他两个参数教程里已经指定
4、在教程的最后会附上本人的心得。有些是对教程中的一些步骤的优化等。
In this week’s tutorial we will create a gallery layout. I will not be using the 960 grid in this tutorial, the purpose is to show beginners out there how important the Ruler Tool is when you are designing in Photoshop. We will also tackle how to create and use patterns and using mask and filters.
在这个每周教程中,我们要创建一个画廊的网页布局。我将在本教程中不使用960网格系统,目的是给初学者展示标尺工具在PS中开始设计网页是多么重要。我们也会演示如何创建使用图案、使用蒙版和滤镜
Step 1: Setting up the Document
步骤1:设置文档
Start by creating a 1200px x 1850px document in Photoshop.
开始于在PS中新建文档,尺寸:1200px*1850px
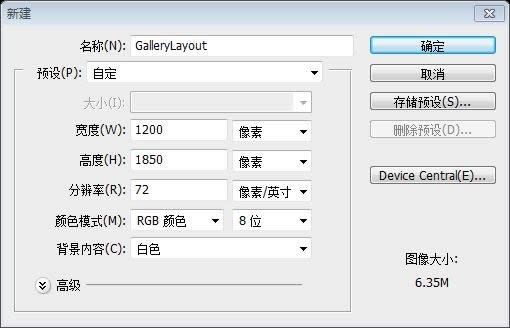
As I mentioned earlier we will be using the Ruler Tool. Make sure that rulers and guides is turned on.
正如刚才所说,我们要使用标尺工具。确保标尺和参考线都是打开的
Rulers: Ctrl + R
Guides: Ctrl + ;
标尺:Ctrl + R
参考线:Ctrl + ;
Also one thing important in using Ruler Tool is the Info(Information) Panel. The use of this is when you are measuring using the ruler the information will be shown in the information panel. Make sure that this is shown in your panels at the right. If it is not shown you can access this by going to Windows – Info.
此外在使用标尺工具中重要的一件事是信息面板。它的用途是当你正在测量时,将标尺信息显示在信息面板中。请确保这在您右边的面板中显示。如果它不显示,您可以通过点击:窗口 > 信息去显示它。
The total width of your site will be 960px. So, let’s create our first guide by going to View – New Guide, set the value to 120px. Repeat the step of create a guide but now change the value to 1080px, this will make a total of 960px in the center of our canvas.
你的网页的总宽度会是960px。所以,让我们创建我们第一条参考线,点击:视图 > 新建参考线,设置值为120px。重复步骤创建一条参考线,不过把值改为1080px,这会使你的画布的中间部分一共有960px宽。
Step 2: Creating the Header
步骤2:创建头部区域
TheHeader section is composed of Logo, Navigation, and Search. First thing you need to do is to create a folder name it Header and inside of it create sub folders and name them Logo, Navigation, and Search. It is important that you group all the things you do properly in order to be organized and easily locate things in the future for coding purposes.
头部区域包含LOGO、导航栏、搜索栏。首要的事是你需要创建一个名为Header的文件夹,并在其中创建名为Logo、Navigation、Search的子文件夹。把各项分组是非常重要的,以便正确的组织元素和将来编码的时候很容易定位元素。
Inside Header folder create a new layer and name it bg. Using Rectangle Tool create a 100% x 100px. By looking at the Info Panel you can view the dimension of the shape that you’re making. Or you can do this by creating a new guide by going to View – New Guide – 100px Horizontal. It’s up to you what way you choose.
在Header文件夹里新建bg图层。用矩形工具创建100%*100px的矩形。查看信息面板时,你可以看见你创建的形状的尺寸。或者你可以新建一条参考线来完成这件事,点击:视图 > 新建参考线,参数设置为:水平100px。这取决于你用什么方法来完成。

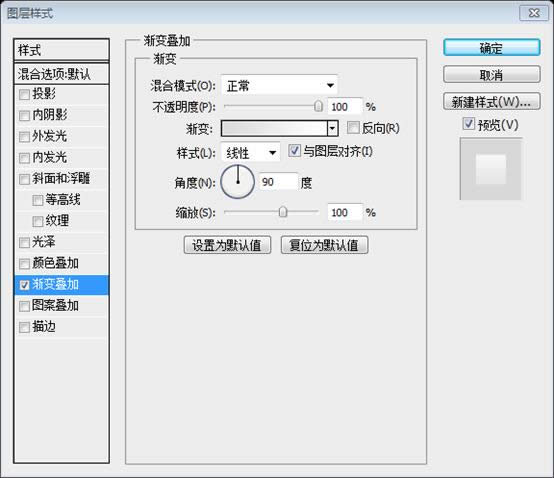
Add this Blending Option
添加如下的混合选项
Gradient Overlay: #dcdcdc, #ffffff
渐变叠加: #dcdcdc, #ffffff
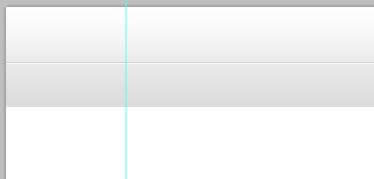
Next thing you do is create two lines using Line Tool 55px distance from the top. But I suggest to use Rectangular Marquee Tool to make the line pixel perfect.
接下来的事你要用直线工具创建两条直线((0,55,1200,1)、(0,56,1200,1)),距离顶部55px。不过我建议你使用矩形选框工具让直线的像素完美
Line 1: #cfcfcf
Line 2: #ffffff
直线1: #cfcfcf
直线2: #ffffff
As you can see in the preview of our header there is a pattern above the lines. Create a new document 9px x 7px, background content Transparent. Using Pencil Tool with a fill color of #cfcfcf create a pattern as shown in the screenshot below. When you are done go to Edit – Define Pattern and name it whatever you wish to call it.
就像你看到的我们头部区域的预览,那儿有一个图案在直线的上方。创建新文档,尺寸:9px*7px,背景是透明的。用铅笔工具按照下面的截图创建图案,填充色: #cfcfcf。当你完成后,点击:编辑 > 定义图案,取个你想取的名字。
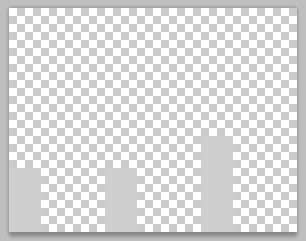
Using Paint Bucket Tool instead of foreground change it to pattern and select the pattern we made. Apply this pattern by making a selection and fill with pattern using Paint Bucket Tool.
选择油漆桶工具,并把填充内容替换为我们之前创建的图案。创建一个选区,用油漆桶工具填充图案以完成添加图案的工作。
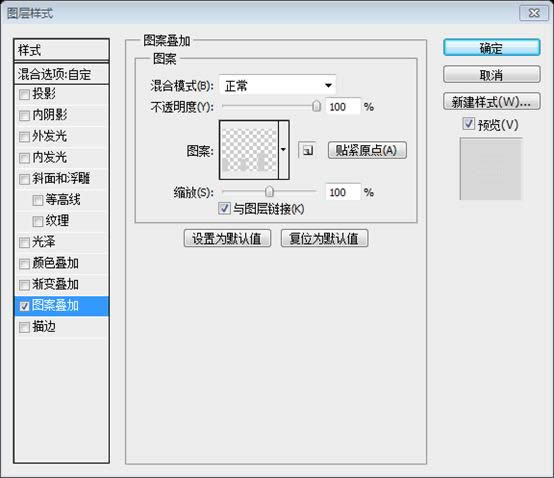
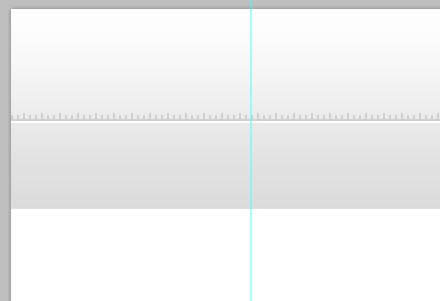
建议用矩形工具创建一个矩形(0,48,1200,7),填充为0,添加如下的图案叠加的图层样式
Step 3: Creating Logo
步骤3:创建LOGO
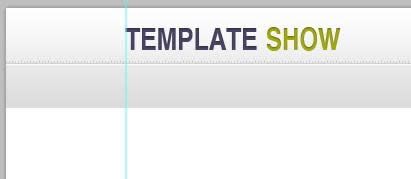
This is just a simple site name logo. Start by using Text Tool and type your desired site name.
这仅仅是简单的网站名字LOGO。用文字工具并输入你期望的网站的名字
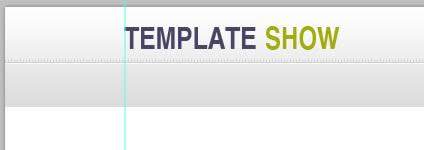
字体:Helvetica BOLD,字号:30px,TEMPLATE的颜色: #494367;SHOW的颜色: #A5AB0D
Add this Blending Option
添加如下的混合选项
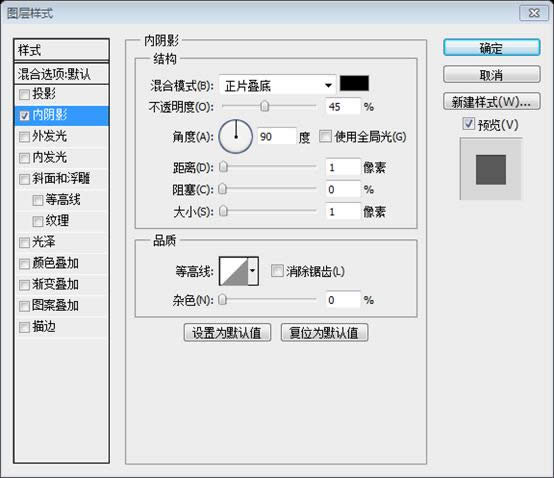
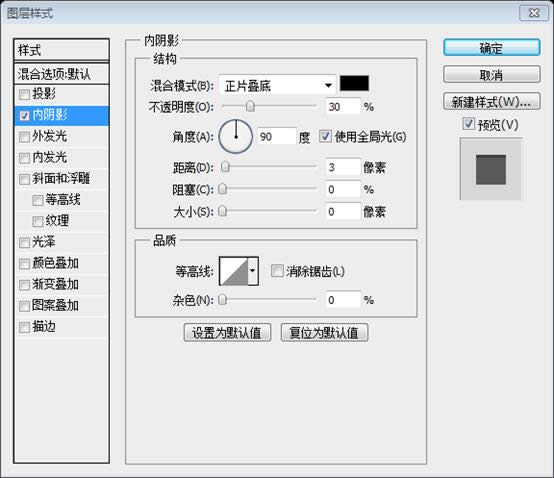
Inner Shadow: #000000
内阴影: #000000
Step 4: Creating Navigation
步骤4:创建导航菜单
Again using Text Tool lets place our navigation links.
再次用文字工具摆放我们的导航链接
字体:Helvetica BOLD,字号:16px,About的颜色: #252525;其余文字的颜色: #555555

Add this Blending Option
添加如下的混合选项
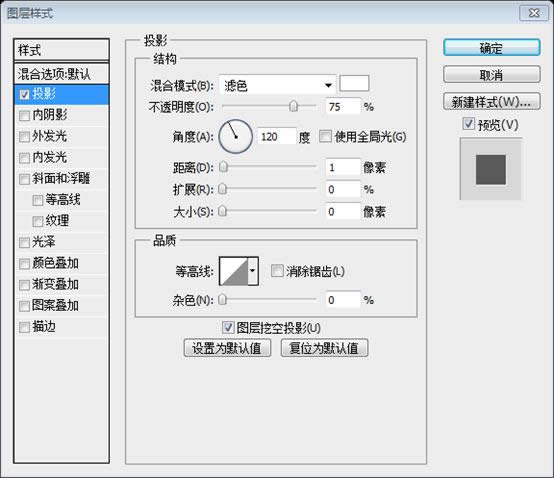
Drop Shadow: #ffffff
投影: #ffffff

Step 5: Creating Search
步骤5:创建搜索栏
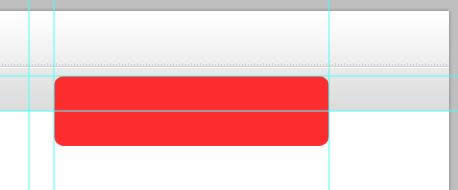
To create our search bar use Rounded Rectangle Tool and set the radius to 10px, then create a shape as shown in the screenshot below.
用圆角矩形工具创建我们的搜索栏,设置半径为10px,然后按照下面的截图创建一个圆角矩形(65,805,275,70)
建议先新建四条参考线:垂直780、垂直805、水平65、水平100
As you can see in the preview above, the left side of our search bar is slanting. So, we need to transform our shape by selecting the layer and press Ctrl + T then Right Click to the work area and select Distort.
如你所见的预览图中,我们搜索栏中的左边是斜的。所以,我们要变换我们的形状,选则图层并按Ctrl + T,然后在工作区域右键,选择扭曲。按照下图进行变形,高度设置70是合适的,只要宽度变成325px,左边就正好穿过交点。
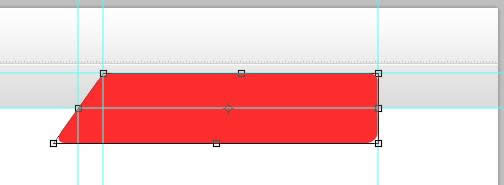
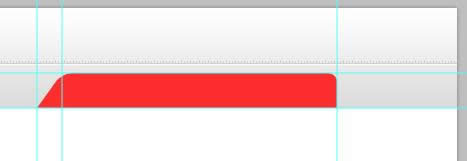
Next we need to mask the bottom part of our shape to be equal in our header. First set the foreground to #000000, then select the layer bg in our header and make a selection of it. While it is selected select the shape of our search the press the Mask Icon in the layers panel area beside the fx icon. Just refer to the screenshot below.
下一步,我们需要遮罩掉我们的形状的底部,使其等于我们的头部区域。首先设置前景色为 #000000,然后在我们的头部区域的bg图层做出一个选区。当它被选中,选择我们搜索栏的形状,然后在图层面板中区fx图标(添加图层样式图标)旁边的蒙版图标。参照下面的截图。

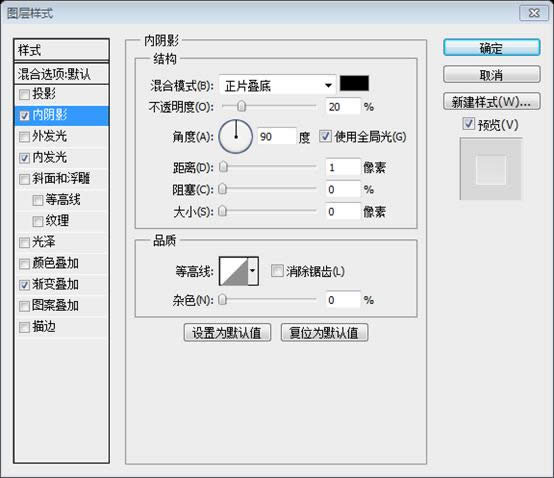
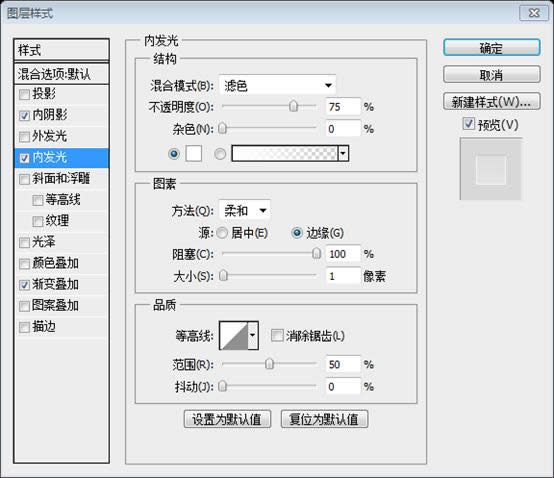
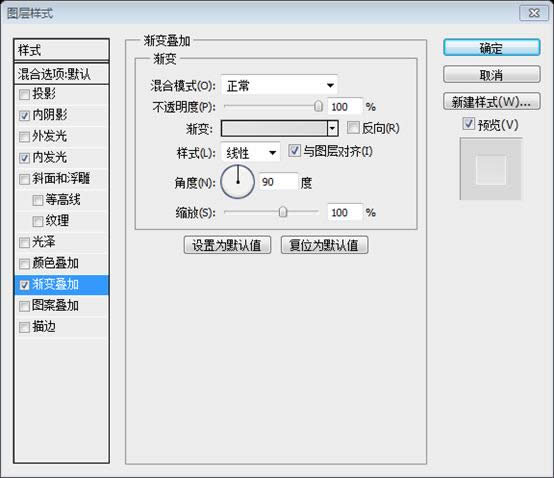
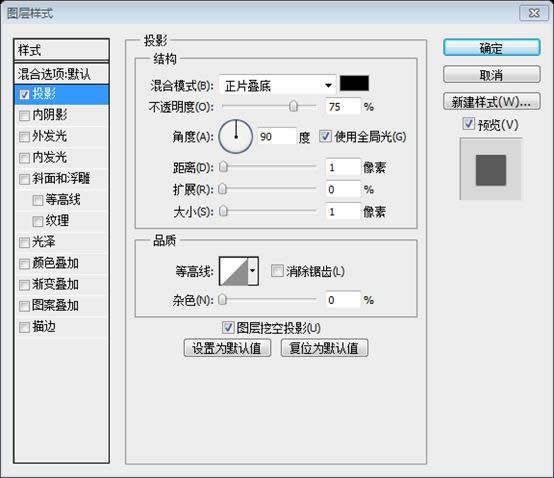
Add this Blending Option
添加如下的混合选项
Inner Shadow: #000000
Inner Glow: #fff
Gradient Overlay: #e6e6e6, #dcdcdc
内阴影: #000000
内发光: #ffffff
渐变叠加: #e6e6e6, #dcdcdc
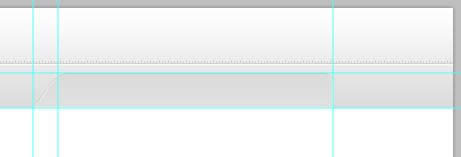
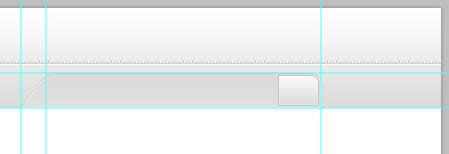
Now let’s create the search button. Make a selection of the search bar, contract it by 2px, and fill it with any color. To contract go to Select – Modify – Contract.
现在让我们创建搜索栏按钮。创建搜索栏的选区,收缩2px,然后用任意颜色填充(新建图层,然后用油漆桶工具填充颜色)。通过点击:选择 > 修改 > 收缩,收缩选区
建议先做后一步后再做收缩2px
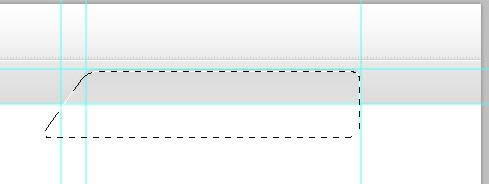
Select Rectangular Marquee Tool, by pressing Alt key you will notice that there is a - sign beside the selection pointer, this sign means to deselect selection. Now you can deselect the section you want to deselect.
选择矩形选择工具,按住Alt键,你可以注意到在选择光标一侧有一个减号,这个减号意味着去除选区。现在你可以去除你想去除的选区
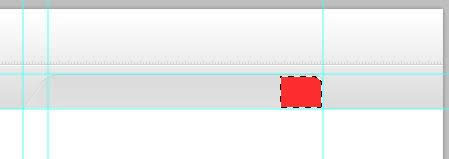
Add this Blending Option
添加如下的混合选项
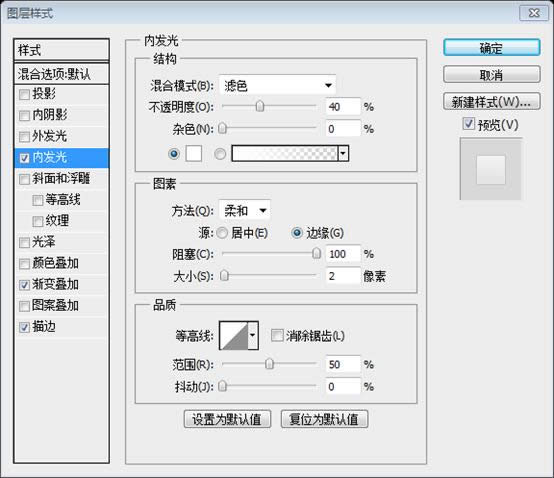
Inner Glow: #ffffff
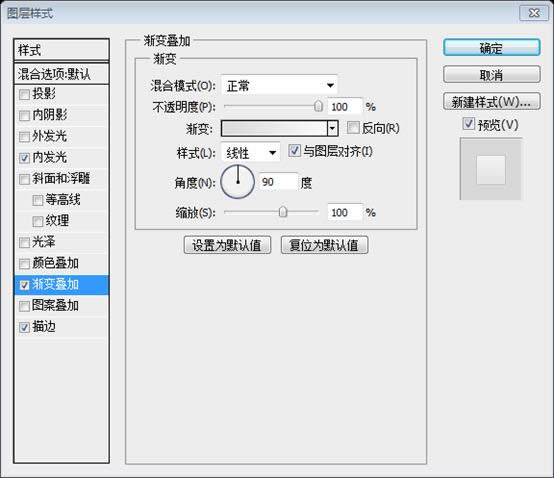
Gradient Overlay: #dcdcdc, #f9f9f9
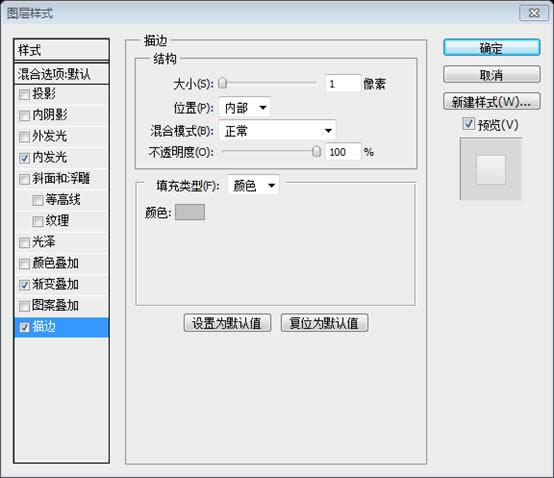
Stroke: #c2c2c2
内发光: #ffffff
渐变叠加: #dcdcdc, #f9f9f9
描边: #c2c2c2
Open up the search icon, align it and add a 1px drop shadow #ffffff.
打开search图标,对齐摆放并添加1px白色的投影
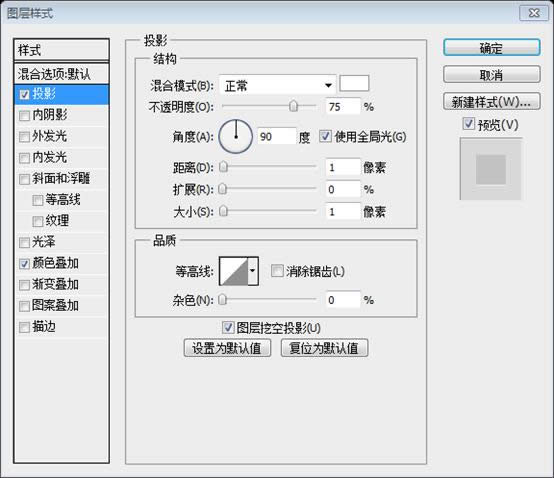
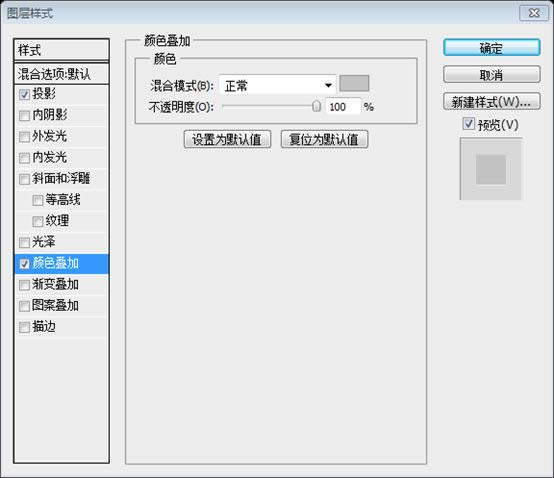
因为图标有自己的颜色,因此,再给图标添加颜色叠加: #c2c2c2,以使风格统一
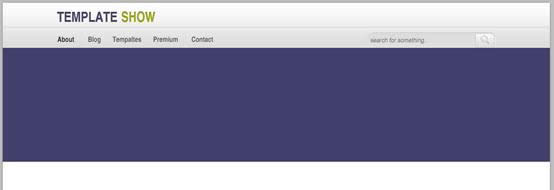
再给搜索栏添加文字:search for something..。字体:Arial 斜体,字号:14px,颜色: #666666

Step 6: Creating Slider
步骤6:创建图片滑动栏
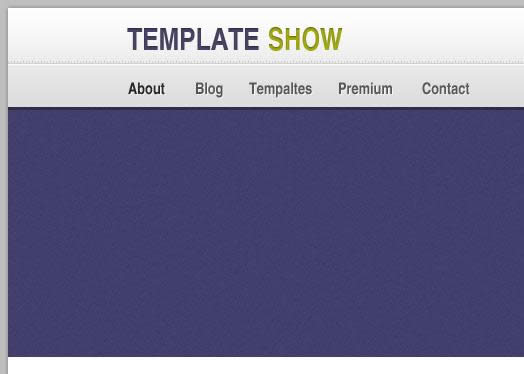
Create a folder above Header folder and name it Slider. Using Rectangle Tool with a fill color of #413f6b create a 100% by 250px.
在Header文件夹上新建Slider文件夹。用矩形工具创建一个宽100%高250px的矩形(0,99,1200,250),填充颜色: #413f6b
Add this Blending Option
添加如下的混合选项
Inner Shadow: #ffffff
内阴影: #ffffff
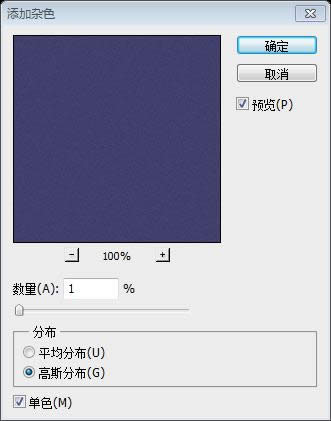
Convert the shape layer to Smart Filters by going to Filter – Convert for Smart Filters. Now, go to filter again and add noise
通过点击:滤镜 > 转换为智能滤镜把该形状图层转换为智能对象。现在,再次点击:滤镜 > 添加杂色
Controls
控制按钮
Create a folder inside Slider and name it Controls. Controls should have sub folders named: NextPrev and Slider Control. Inside NextPrev let’s create our Next and Previous buttons start by selecting Ellipse Tool with a fill color of #676589 and create a shape 40px x 40px.
在Slider组里添加Controls文件夹。Controls有两个子文件夹:NextPrev和Slider Control。在NextPrev中,我们用椭圆工具创建我们的Next和Previous按钮,颜色填充: #676589,形状尺寸:40px * 40px。(120,204,40,40)
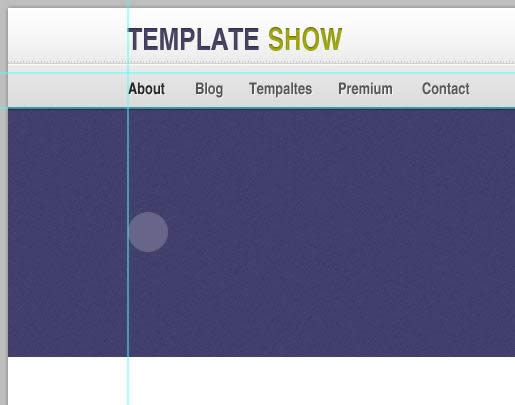
Download the arrow icon provided in the resources and place it on our canvas. Resize and position it as shown in the screenshot below.
下载资源中提供的箭头图标并将它置于我们的画布上。调整大小并按照下面的截图摆放
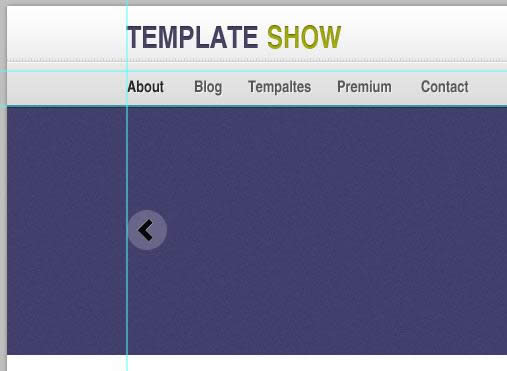
We are going to mask the shape, first set the foreground color to #000000, next make a selection of the arrow icon by Ctrl + Click to the layer and Inverse the selection by pressing Ctrl + Shift + I. While it is selected select the Ellipse shape and press the Mask Icon beside the fx icon in the layers panel.
我们打算给形状添加遮罩,首先设置前景色为 #000000,接下来通过在图层上按Ctrl + Click创建箭头的选区,并按Ctrl + Shift + I翻转选区。当出现选区时,选择椭圆形状图层然后按在图层面板中区fx图标(添加图层样式图标)旁边的蒙版图标。然后把箭头图层隐藏。
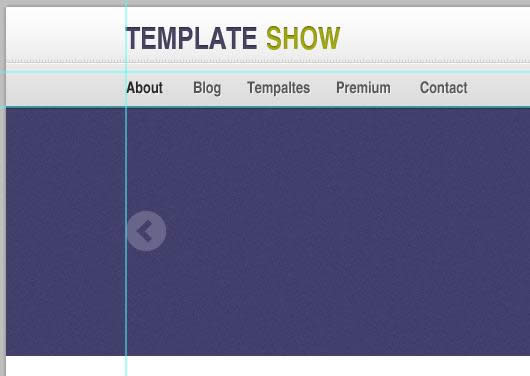
Duplicate the shape and place it on the other side. Grab some sample images to put in our slide. Also, using Text Tool add some text: a sample title and a little content just follow the formatting of the text as shown in the screenshot below.
复制该形状并摆放到另一边(1040,204,40,40)。获取一些示例图片放在我们的图片滑动栏上。并,用文字工具添加一些文本:按照下面截图上的文本格式的一个示例标题和一些内容文字。
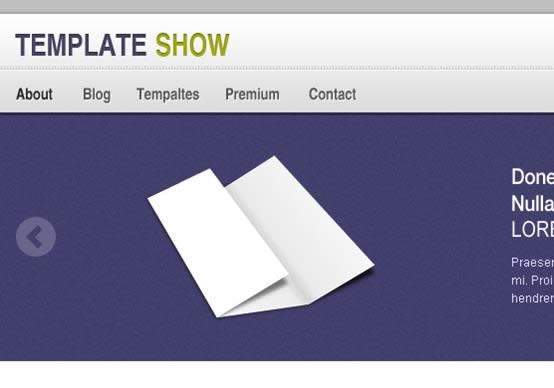
标题字体:Helvetica BOLD,字号:22px,颜色: #ffffff;
段落字体:Arial,字号:12px,颜色: #E0DEFF;黄色的more的颜色: #EAEC25
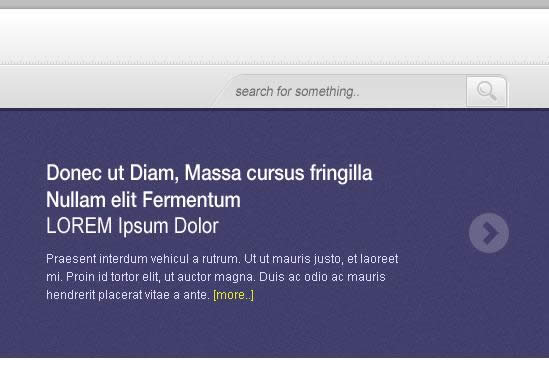
Now we are going to work on our Slider Controls. Using Rounded Rectangle Tool with a 10px radius create a shape as shown in the screenshot below. Transform the shape the same as we did in our Search bar.
现在我们打算创建我们的滑动栏的导航按钮。用圆角矩形工具,设置半径为10px,按照下图创建一个圆角矩形。像和之前做搜索栏一样进行变换
Also mask the layer as we did previously, refer to Step: 5 Creating Search.
给这个图层添加蒙版,就像之前做的,查看步骤5:创建搜索栏
这个步骤比较省略,因此在这儿补充完整
用圆角矩形工具,半径10px,创建一个圆角矩形(960,324,100,50)
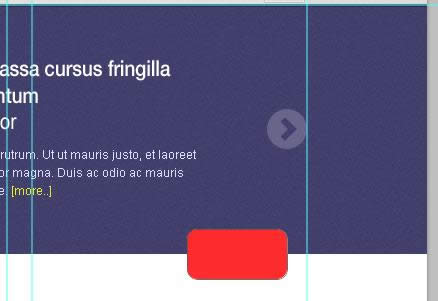
按Ctrl + T自由变换,在形状上右键选择扭曲,按住Shift键,往右拖动右下角的控制块,直到宽度变为130;再按住Shift键往左拖动左下角的控制块,直到宽度变为160。
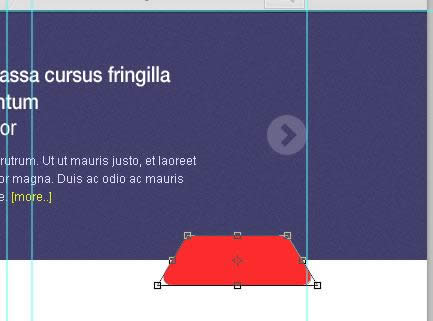
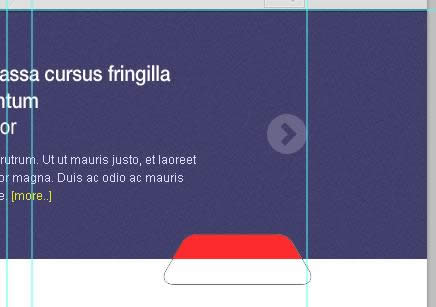
在紫色背景层上按Ctrl + Click,获得矩形选区,然后选中红色形状的图层,按图层面板上的蒙版按钮
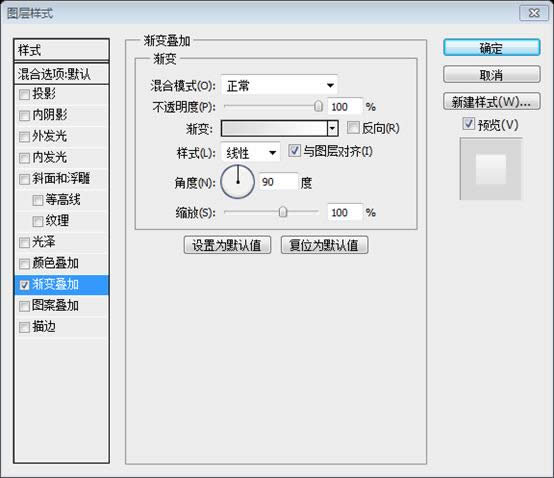
Add this Blending Option
添加如下的混合选项
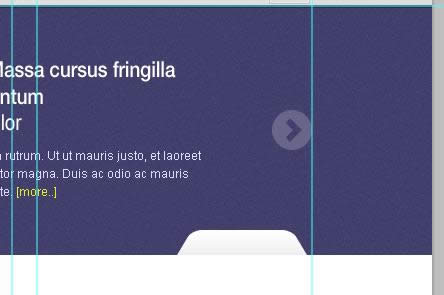
Gradient Overlay: #dcdcdc, #ffffff
渐变叠加: #dcdcdc, #ffffff
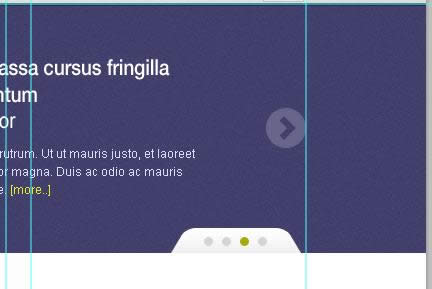
Using Ellipse Tool create a shape as shown in the screenshot below.
用椭圆工具创建如下面截图所示的形状(978,333,9,9)、(996,333,9,9)、(1014,333,9,9)、(1032,333,9,9)
灰色的颜色: #D4D4D4,绿色的颜色: #A5AB0D
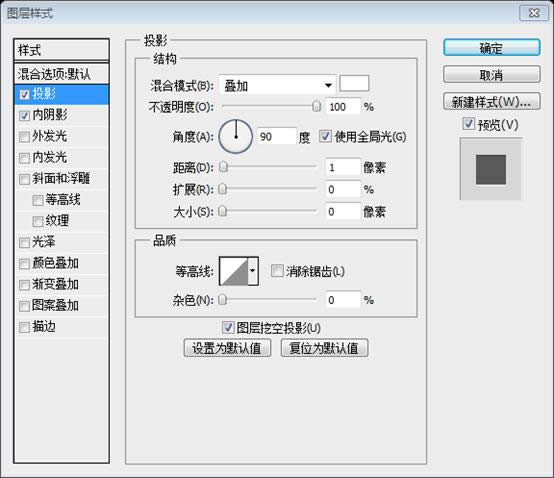
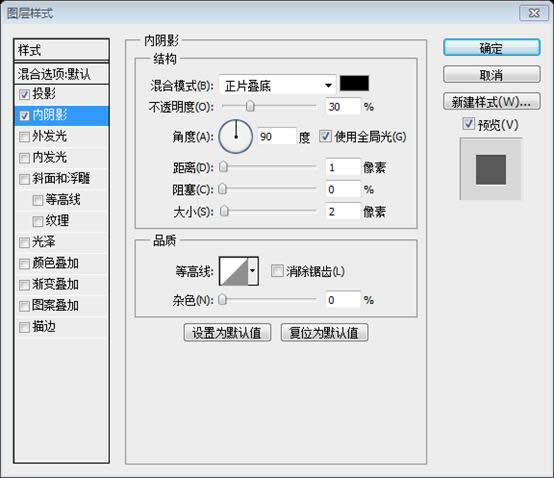
Add this Blending Option
添加如下的混合选项
Drop Shadow: #ffffff
Inner Shadow: #000000
投影: #ffffff
内阴影: #000000
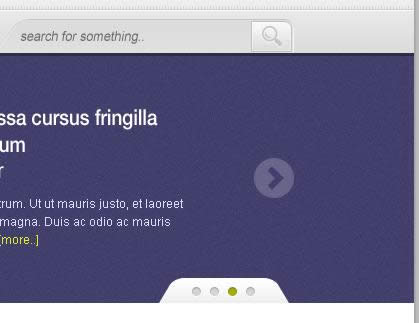
This will be the result.
这是最终的效果
Using Rectangle Tool with a fill color of #000000 create a 100% by 5px shape, then set the layer mode to multiply and opacity to 30% in the layers panel.
用矩形工具创建一个宽100%高5px的矩形(0,344,1200,5),填充色: #000000,然后在图层面板中设置图层模式为正片叠底,不透明度30%
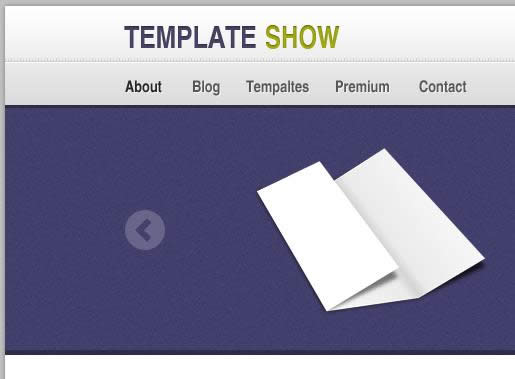
Make a selection of the slider control shape and expand it by 5px by going to Select – Modify – Expand.
创建滑动栏导航块的选区,并通过点击:选择 > 修改 > 扩展,扩展选取5px。
新建图层,命名为Border,用黑色填充,图层模式改为正片叠底,不透明度改为30%
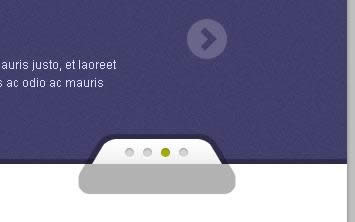
选中紫色背景图层,按Ctrl + Click创建选区,然后选中Border图层,点击图层面板上的蒙版按钮

左右有两个深色色块,不和谐,继续修改。在Border图层上右键选择转换为智能对象。在之前的横条矩形图层上按Ctrl + Click创建选区,并按Ctrl + Shift + I反选选区
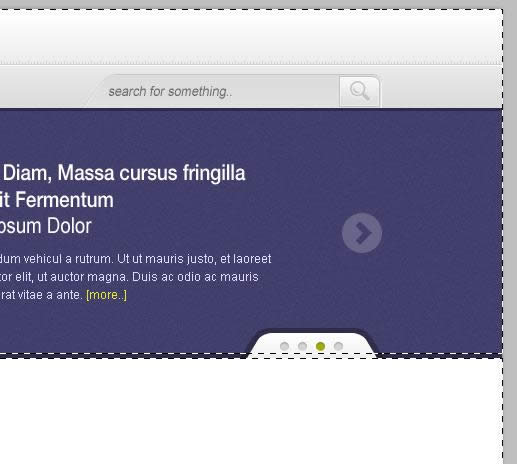
然后选中Border图层,点击图层面板上的蒙版按钮

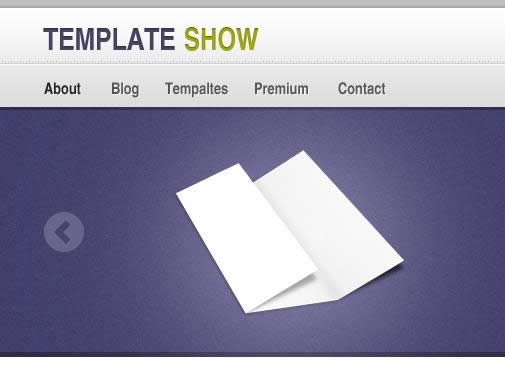
Final step to create our slider is to add highlights. First make a selection of our slider base, then select Brush Tool set the hardness to 0% and size about 400px. Fill the selection in a separate layer with #ffffff color and set the blend mode to Soft Light in the layers panel.
最后给我们的滑动栏添加高亮效果。首先给我们的滑动栏创建选区,然后选择画笔工具,设置硬度0%、尺寸400px。在单独的图层里填充颜色: #ffffff,然后在图层面板里设置混合模式为柔光
Step 7: Featured Gallery
步骤7:精选画廊
Create a new folder and name it Featured Gallery. Using Rectangle Tool with a fill color of #ededed create a shape 100% by 200px. Also, create two 1px lines, first line color #ffffff will be placed on the top of our shape and the second line color #c2c2c2 will be on the bottom.
创建新的文件夹Featured Gallery。用矩形工具创建一个矩形(0,349,1200,200),宽100%,高200px,颜色: #ededed。并,创建两条1px的直线,第一条直线摆放在矩形的顶部(0,349,1200,1),颜色: #ffffff,第二条直线摆放在矩形的底部(0,548,1200,1),颜色: #c2c2c2。
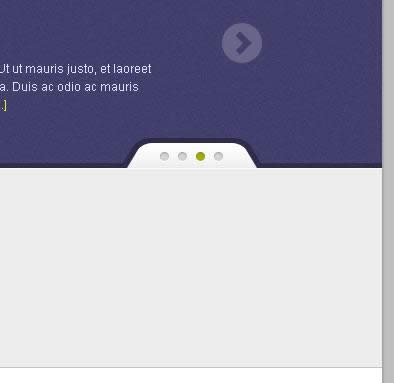
可以看出,在滑动栏的控制块的底部有条白线。在控制块图层上按Ctrl + Click,创建选区,按Ctrl + Shift + I反向选区。选中白色直线的图层,点击图层面板上的蒙版按钮
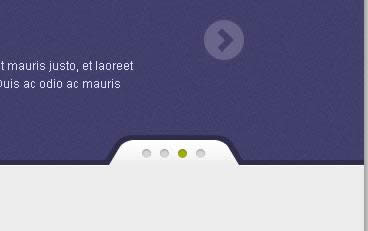
Create a new layer above the shape and name it highlight. Then, make a selection of the shape. Using Brush Tool with a fill color of #ffffff brush in the center of the selection then, set the layer mode to Soft Light.
在形状的图层上新建图层highlight。然后,创建形状的选区。用画笔工具在选区的中央填充白色,并设置图层的混合模式为柔光
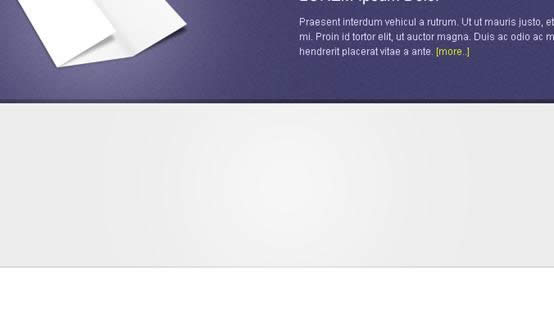
Now let’s work on our sample post for our featured gallery. First, create a folder named post then put a 100px x 100px sample thumbnail on our canvas. Also, Using Text Tool add a Title and Content.
现在让我们创建精选画廊中的示例列表。首先,创建一个文件夹post,然后在我们画布上摆放一个100px*100px的示例缩略图,用文字工具添加一个标题和内容
标题字体:Arial,字号:16px,颜色: #363636;内容字体:Arial,字号:12px,颜色: #636363
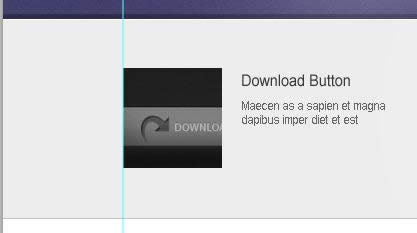
Create a new layer below the thumbnail and name it shadow, using Pen Tool create a shape as shown in the screenshot below. Then, go to Filter – Blur – Gaussian Blur 1px, and set the Opacity to 50% in the layers panel.
在缩略图的下面创建一个新的图层shadow,用钢笔工具按照截图创建形状。然后,点击:滤镜 > 模糊 > 高斯模糊,单位1px,并在图层面板中设置不透明度为50%
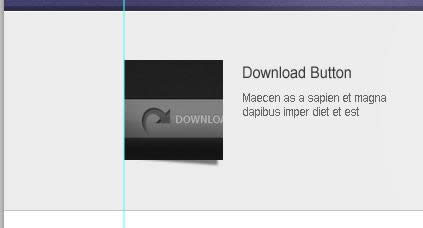
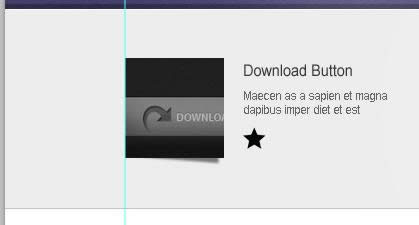
Create a new folder and name it rate. Now, open up the star icon and place it to our canvas and place it as shown in the screenshot below.
创建新的文件夹rate。现在,打开star图标并按照下面截图摆放到我们的画布上
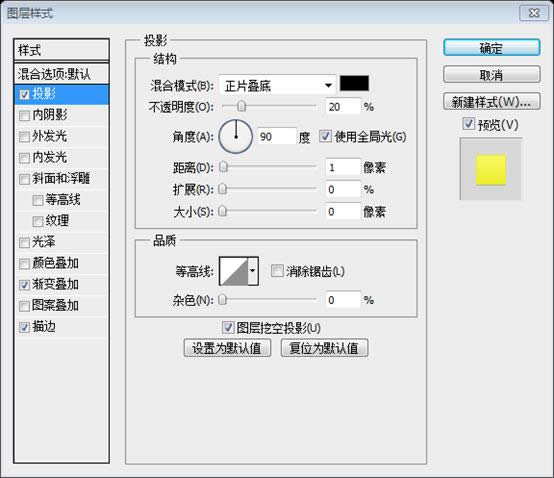
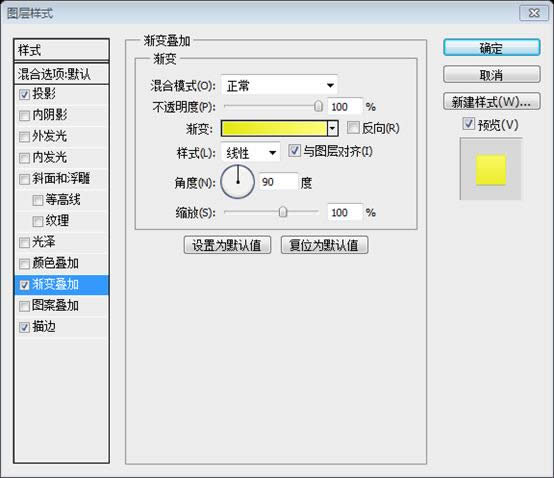
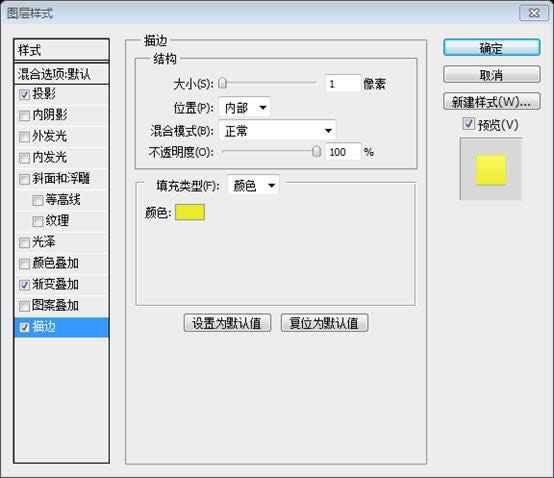
Add this Blending Option
添加如下的混合选项
Drop Shadow: #000000
Gradient Overlay: #e7e918, #fffd76
Stroke: #eaec25
投影: #000000
渐变叠加: #e7e918, #fffd76
描边: #eaec25
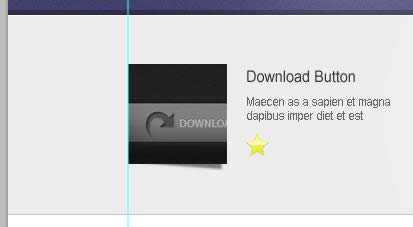
Make a selection of the star and deselect starting from the middle to bottom and in a separate layer fill it with Linear Gradient #ffffff to Transparent then, set the Opacity to 70% in the layers panel.
给star图层创建选区,去除star中间到底部的选区,在单独的一个图层里用线性渐变填充,从#ffffff到透明,在图层面板里设置不透明度为70%
This will be the result.
这是结果
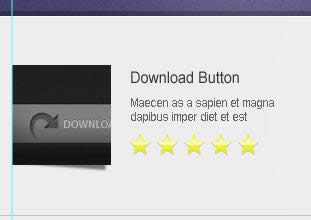
Duplicate the star four times.
复制star四次
Duplicate the post folder two times a position it as shown in the screenshot below.
复制post文件夹两次并按照下面的截图摆放

Step 8: Posts
步骤8:列表
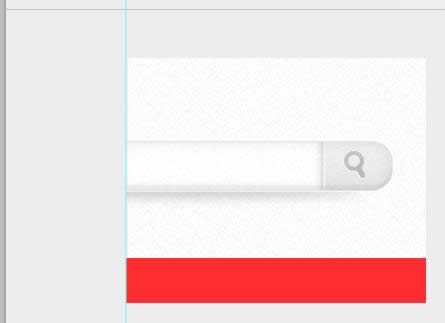
Fill the Background layer with #ededed. Create a new folder and name it Body Posts, create a sub folder and name it post. Now, create a sample 300px by 200px image thumbnail for our post and place it in our canvas. Using Rectangle Tool create a 300px by 45px shape just fill it with any color. Just refer to the screenshot below.
填充背景图层,颜色: #ededed。创建新文件夹Body Posts,创建一个子文件夹post。现在,创建一个我们列表的300px*200px的缩略图在我们的画布上。用矩形工具创建一个300px*45px的矩形,用任意色填充。参看下面的截图
Add this Blending Option
添加如下的混合选项
Drop Shadow: #000000
Gradient Overlay: #f7f7f7, #ffffff
投影: #000000
渐变叠加: #f7f7f7, #ffffff
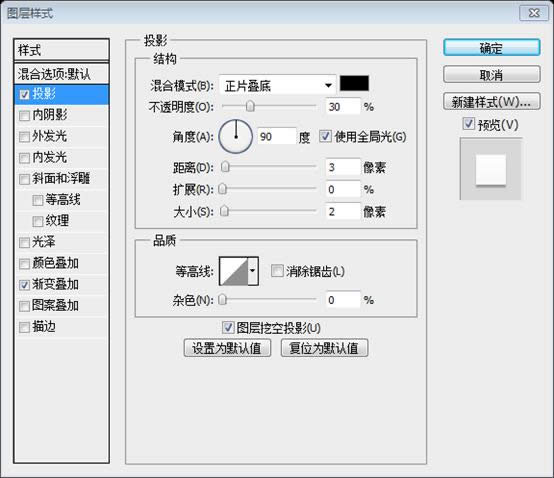
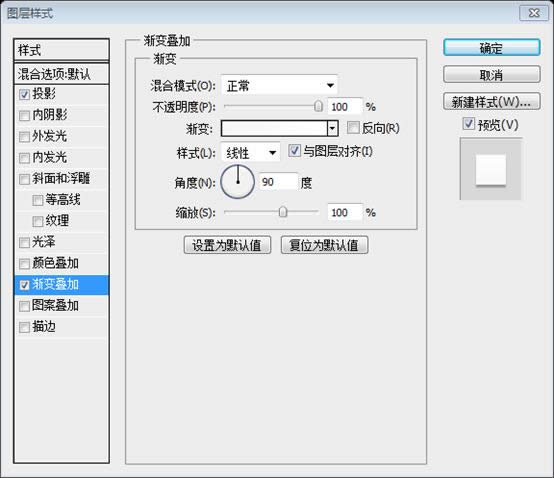
Duplicate rate folder from our featured gallery and place it in the post folder. Also, using Text Tool create a sample title, just follow the settings in the screenshot below.
从featured gallery复制rote文件夹(评价星)到post文件夹,并摆放到合适位置。并且,用文字工具创建一个示例标题,按照下面的截图设置
标题文字,字体:Helvetica,字号:16px,颜色: #363636
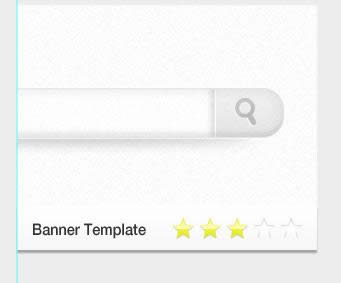
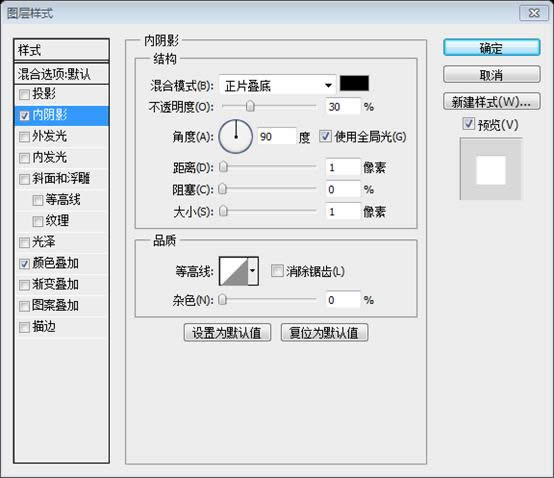
For unrated star style just remove the Gradient Overlay and replace it with Inner Shadow.
没有标示的星星的样式是去掉渐变叠加,然后替换为内阴影,还得去掉投影和描边和添加白色的颜色叠加。
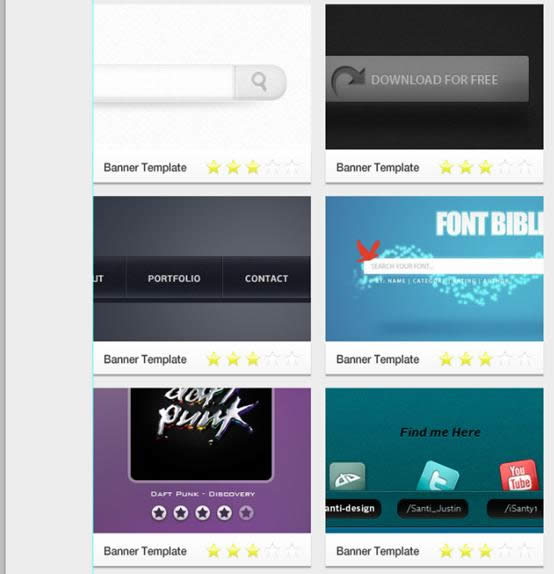
Duplicate post folder five times and align it as shown in the screenshot below.
复制post文件夹五次,并按照下面的截图摆放,水平间距20px,垂直间距19px
Step 9: Pagination
步骤9:分页按钮
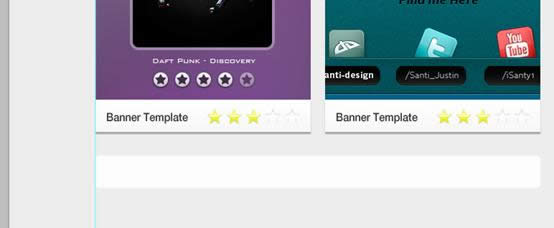
Select Rounded Rectangle Tool and set the radius to 5px then, create a 620px by 45px shape below those posts.
选择圆角矩形工具,半径5px,创建一个620px*45px的圆角矩形(120,1403,620,45)在列表的下面,颜色: #fffcfd
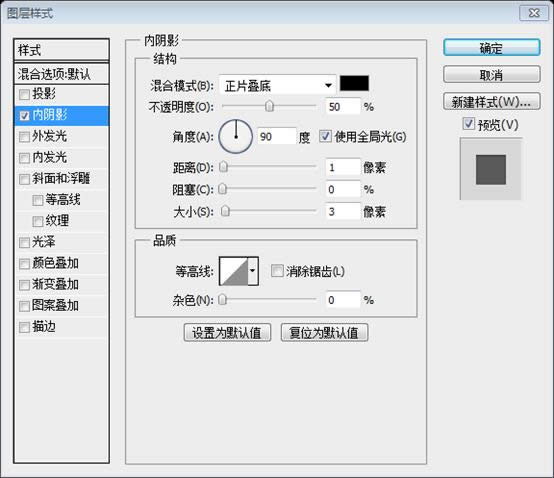
Add this Blending Option
添加如下的混合选项
Inner Shadow: #000000
内阴影: #000000
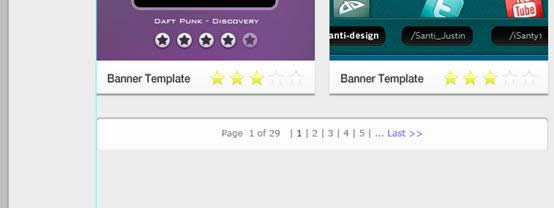
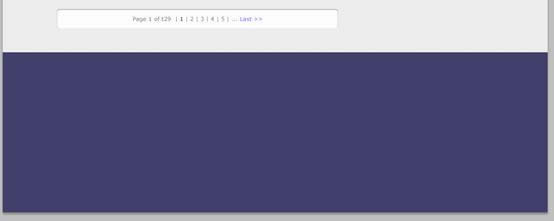
Using Text Tool place the number of pages as shown in the screenshot below.
用文字工具按照下面的截图书写页码
文字字体:Verdana,字号:12px。页码文字的颜色: #7E7E7E,页码1的颜色: #363636,Last的颜色: #7266FE
Step 10: Sidebar
步骤10:侧边栏
Create a #c2c2c2 1px line 40px distance from our post, Mask the line and make the tip faded using Brush Tool with a fill color of #000000. You may have something that looks like the screenshot below.
距离我们的列表40px创建一条直线(780,549,1,300),颜色: #c2c2c2,给直线添加蒙版,作出一个淡出的效果,用画笔工具,填充颜色: #000000。你做的东西就像下面的截图一样
作出淡出的效果,建议用,点击:图层 > 矢量蒙版 > 显示全部。然后自下而上用渐变工具填充,从黑色到透明
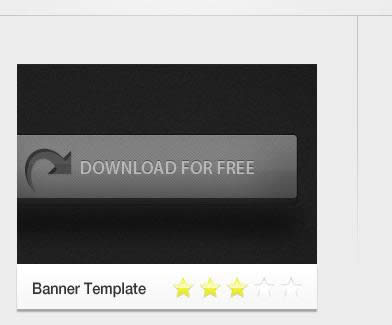
Duplicate the line and move it to the left and change the color to #ffffff. Create a Horizontal line with the same color place it as shown in the screenshot below.
复制这条直线并移动到左边,并改颜色为 #ffffff。用同样的颜色创建一条水平直线并按照下面的截图摆放。
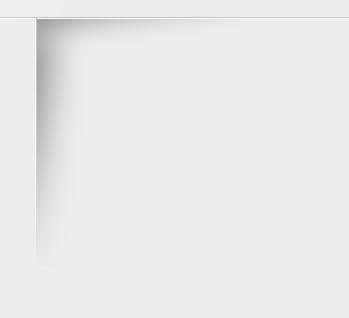
Next, create a new layer below those lines we have just created and name it shadow. Using Selection, Gradient Tool, and Eraser Tool perform what you have seen in the screenshot below. The set the shadow layer to Multiply, Opacity to 50%.
接下来,在这些直线下面新建图层shadow。用选区工具、渐变工具、和橡皮擦工具配合使用,就像你看到的截图一样。设置shadow图层为正片叠底,不透明度为50%
Duplicate the layer and place it on the top as shown in the screenshot below. It’s up to you to make adjustments, just erase the portion that you don’t like.
复制该图层并按照下面的截图摆放到顶部。这取决于你的调整,擦除你不喜欢的部分
建议新建选区,然后用渐变工具水平和垂直方向各划一下,然后添加和竖直直线一样的蒙版
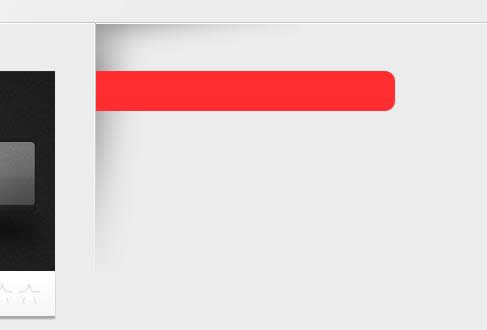
Select Rounded Rectangle Tool then set the radius to 10px. Create a shape as shown in the screenshot below. The width of the shape is the remaining width of our canvas and the height will be 40px.
选择圆角矩形工具,设置半径为10px。按照下图创建一个形状(760,597,320,40),形状的宽度是我们画布剩下的宽度,高度40px
用矩形选框工具,创建一个选区(780,500,350,200),然后在选择矩形的图层,点击图层面板上的蒙版按钮
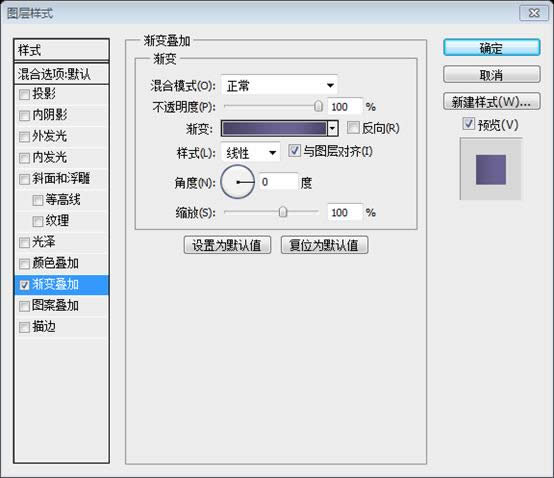
Add this Blending Option
添加如下的混合选项
Gradient Overlay: #494367, #6b6393, #494367
渐变叠加: #494367, #6b6393, #494367
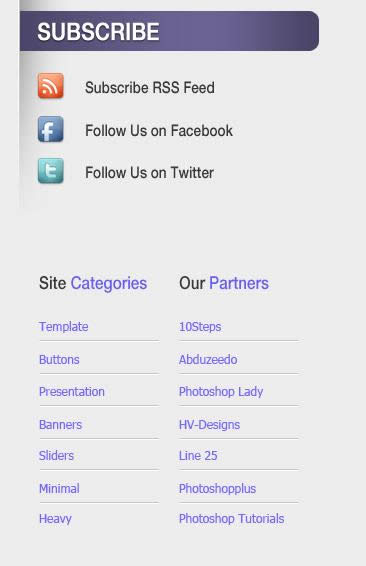
Using Text Tool add a header title.
用文字工具添加一个标题。字体:Helvetica,字号:24px,颜色: #ffffff。并添加投影样式

Next open up the social icons and place them on our canvas, align them as shown in the screenshot below, and also add their corresponding social icon names using Text Tool.
接下来打开社会媒体图标并把它们摆放到我们的画布,按照下面的截图摆放,并用文字工具给每个图标添加对应的说明文字。字体:Helvetica,字号:16px,颜色: #363636

Create two new folders and name them: Categories and Our Partners. Using Text Tool and Line Tool perform what you can see on the screenshot below.
创建两个新的文件夹:Categories和Our Partners。用文字工具和直线工具配合使用,就像下面的截图一样
标题的字体:Helvetica,字号:18px,左边文字的颜色: #363636,右边文字的颜色: #655DF3
列表的字体:Tohoma,字号:12px,颜色: #7266FE
分割线:上面的颜色: #C2C2C3,下面的颜色: #FFFFFF
Step 11: Footer
步骤11:页脚
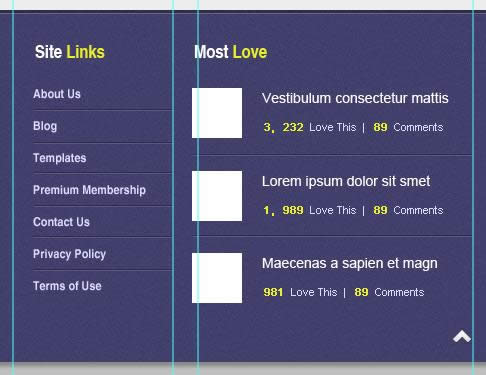
Create a new folder and name it Footer. Inside footer there are sub folders named: About, Most Love, and Site Links. Using Rectangle Tool with a fill color of #413f6b create a footer that is the right size to you.
新建文件夹Footer。在Footer文件里有这些子文件夹:About、Most Love、Site Links。用矩形工具创建一个合适页脚的矩形(0,1498,1200,352),颜色: #413f6b
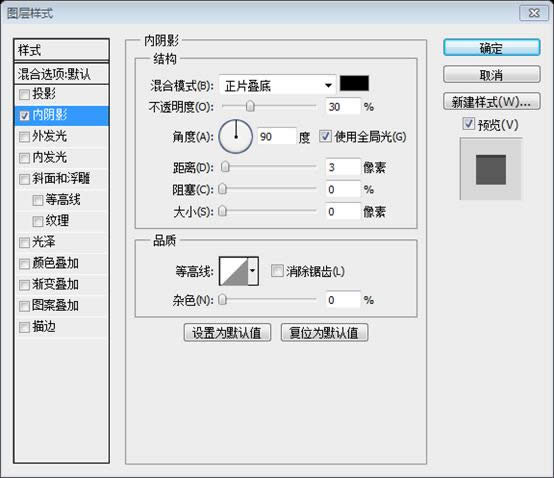
Add this Blending Option
添加如下的混合选项
Inner Shadow: #ffffff
内阴影: #ffffff 应该是 #000000
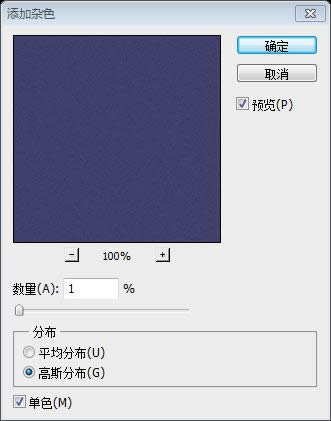
Convert the shape layer to Smart Filters by going to Filter – Convert for Smart Filters, go to filter again and add noise.
通过点击:滤镜 > 转换为智能滤镜,转换该形状为智能对象,再次点击滤镜,添加杂色
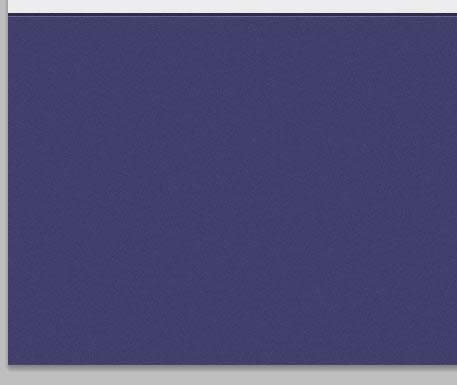
并添加一条白色的水平直线(0,1501,1200,1),不透明度设置为20%
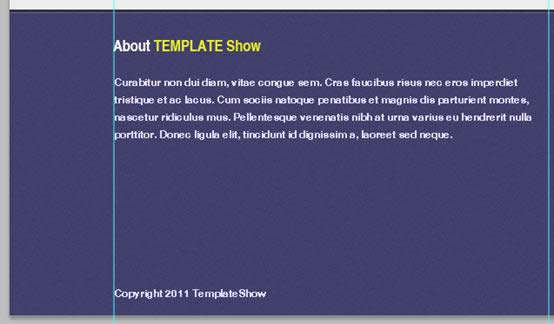
We were going to add info text in our about folder. Using Text Tool put in some dummy text and for the formatting of the text just refer to the screenshot below.
我们要在about文件夹里添加一些信息文字。用文字工具添加一些文字,并按照下面的截图设置文字的格式
标题:字体:Helvetica,字号:18px,About的颜色: #FFFFFF;右边文字的颜色: #ECED2B
段落及版权信息文字:字体:Helvetica,字号:12px,文字颜色: #E0DEFF
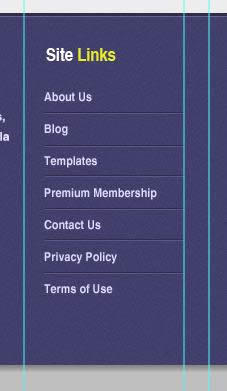
Using Text Tool add links on Site Links folder.
用文字工具在Site Links文件夹添加文字
标题:字体:Helvetica,字号:18px,Site的颜色: #FFFFFF;右边文字的颜色: #ECED2B
列表文字:字体:Helvetica,字号:12px,文字颜色: #E0DEFF
分割线:上面的直线颜色: #2F2A47;下面直线的颜色: #5C5A89
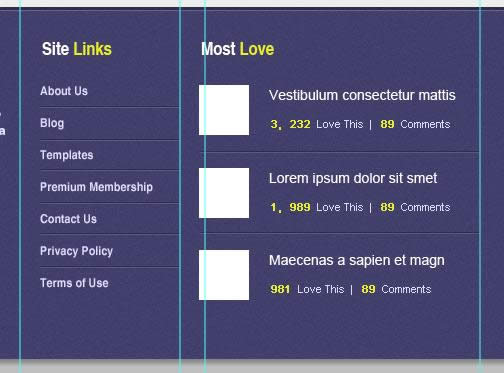
Using Text Tool add a Post Title, Love this, and comments. Create also a 50px x 50px thumbnail and place it as shown in the screenshot below.
用文字工具添加列表标题,Love this,comments。创建50*50的缩略图并按照下面的截图摆放
标题:字体:Helvetica,字号:18px,Most的颜色: #FFFFFF;右边文字的颜色: #ECED2B
列表标题:字体:Arial,字号:14px,颜色: #FFFFFF
下面的小文字:字体:Arial,字号:11px,颜色: #ECED2B、#E0DEFF
分割线:上面的直线颜色: #2F2A47;下面直线的颜色: #5C5A89
Final steps are adding copyright and back to top button. Open up the arrow icon and rotate it facing top.
最终要添加版权信息和回到顶部按钮。打开arrow图标并旋转,使之箭头朝上
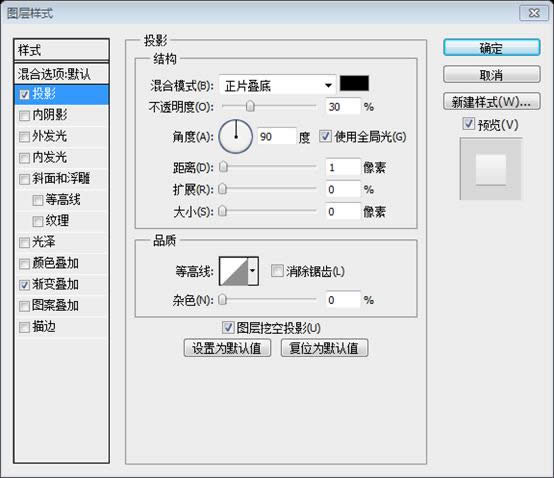
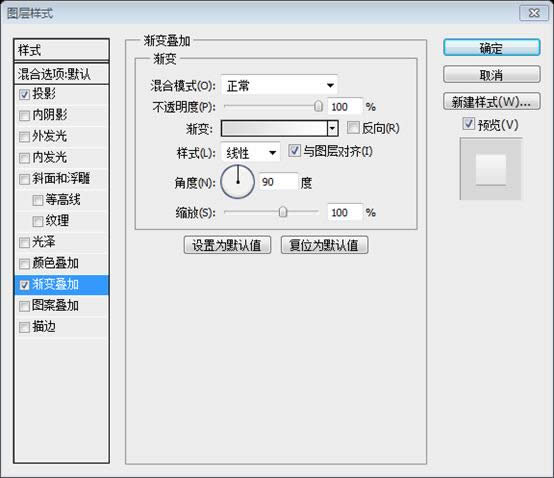
Add this Blending Option
添加如下的混合选项
Drop Shadow: #000000
Gradient Overlay: #dcdcdc, #ffffff
投影: #000000
渐变叠加: #dcdcdc, #ffffff
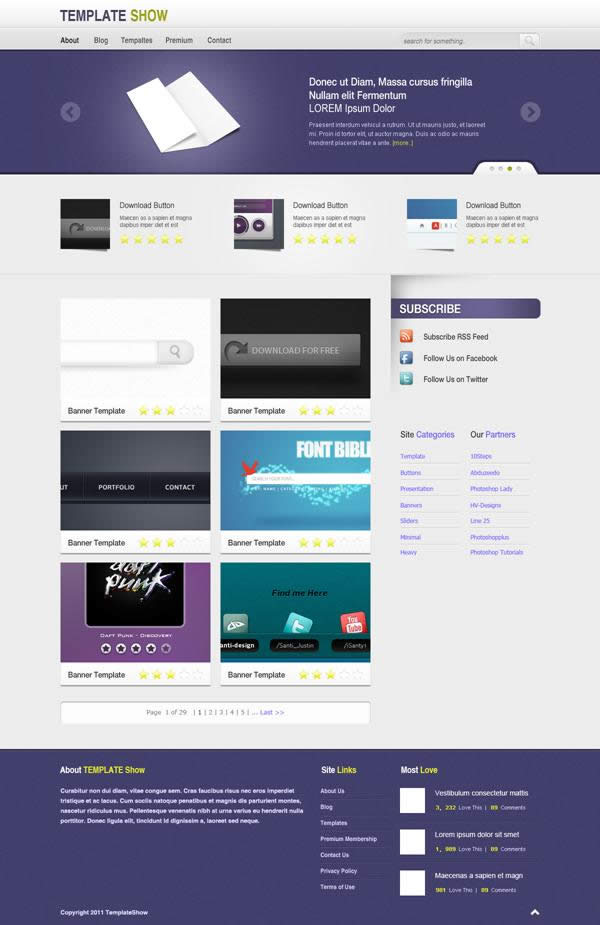
Finally we’re done!
最终我们完成了
后记:
这是一篇很好的教程。大量的运用了蒙版的技术。整体配色简洁和谐,让人赏心悦目。
在网上查阅到这篇教程的时候,只剩下文字说明和无效的死链接。感谢这个网站 WayBack Marchine 使我查到了这篇教程的备份,得以顺利的完成本教程的翻译。
同时,再介绍一个网站 TinEYE 它能根据你上传的图片找寻类似的图片(新功能还包括,根据你指定颜色的比例来找寻相关的图片)
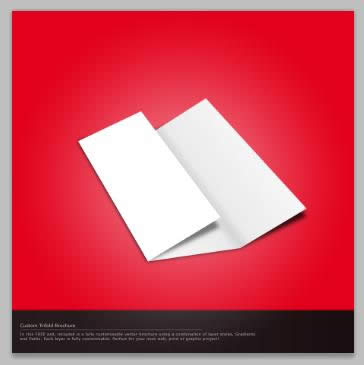
下图就是我把教程中的折纸上传后,找到的PSD素材,很好很强大。
更多PS网页设计教程XXIX——如何在PS中设计一个画廊布局 相关文章请关注PHP中文网!
……